


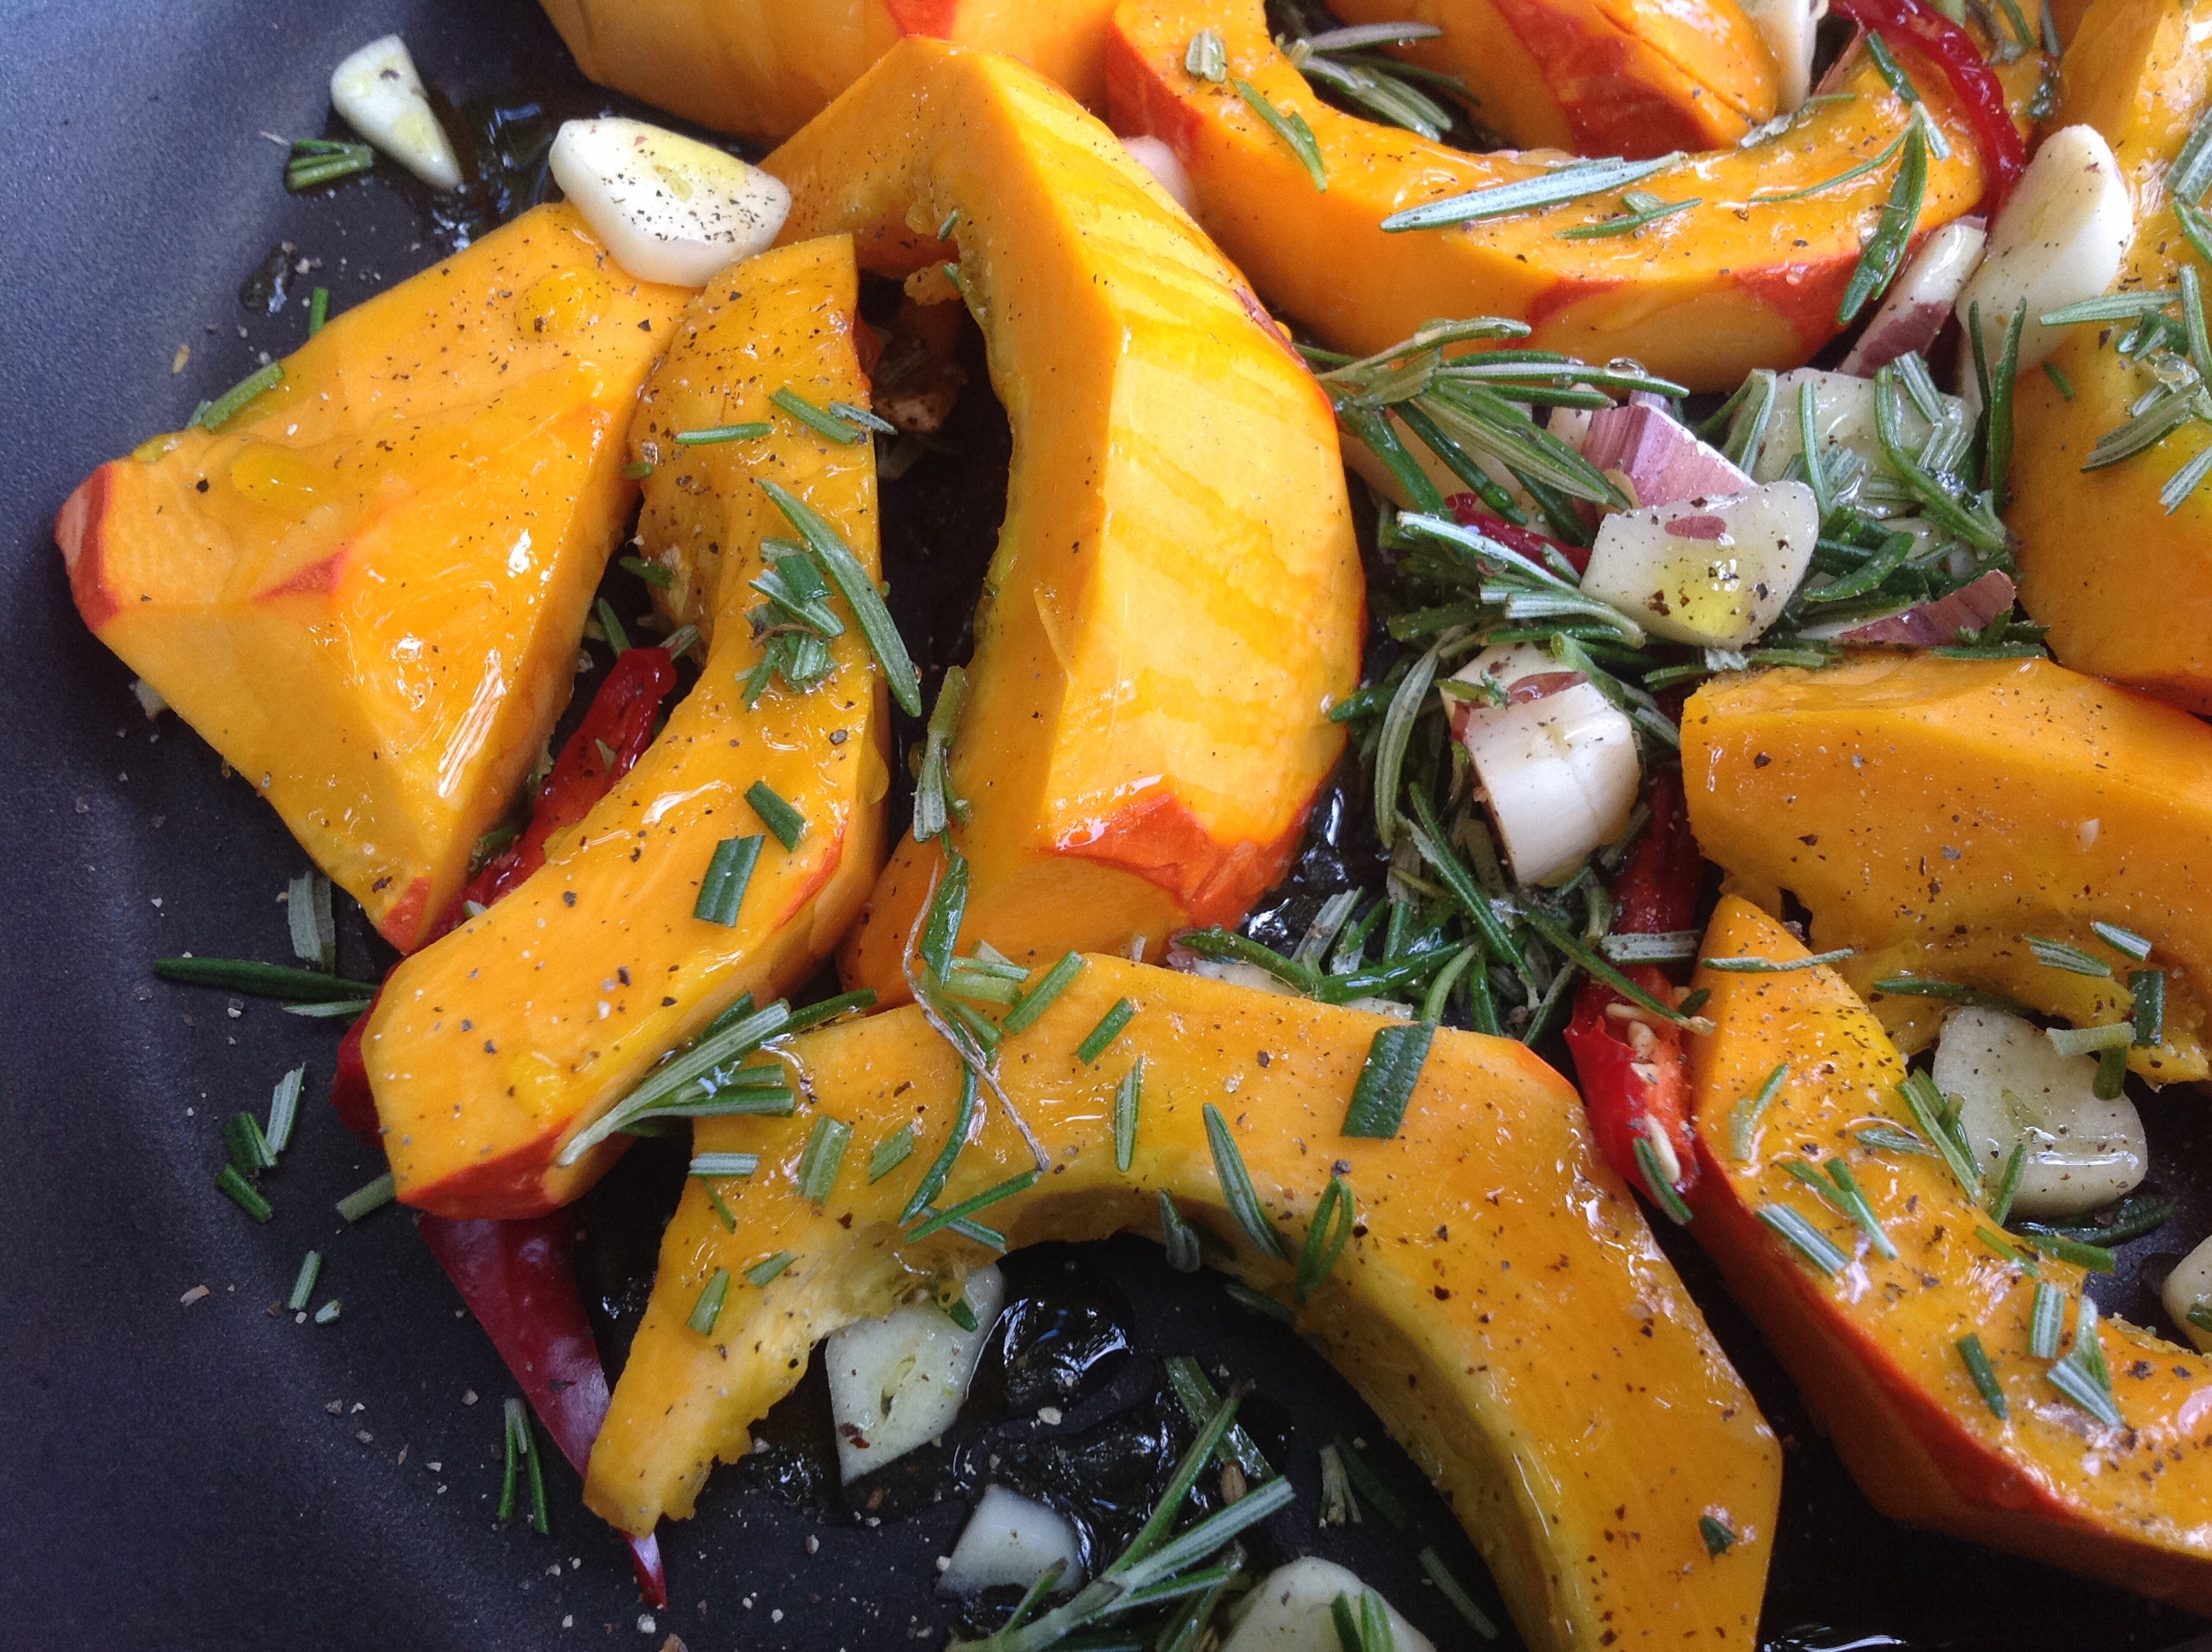
It was hot. Sultry. Steaming. Oppressive. And that was just in the garden. I had the germ of an idea for supper but it felt incongruous. But then again, it felt right. Vegetable biryani. All the windows and doors were wide open but not a breath of cool air. I was drawn to warm sweet spices – cumin, cinnamon, chilli, cardamom this evening.
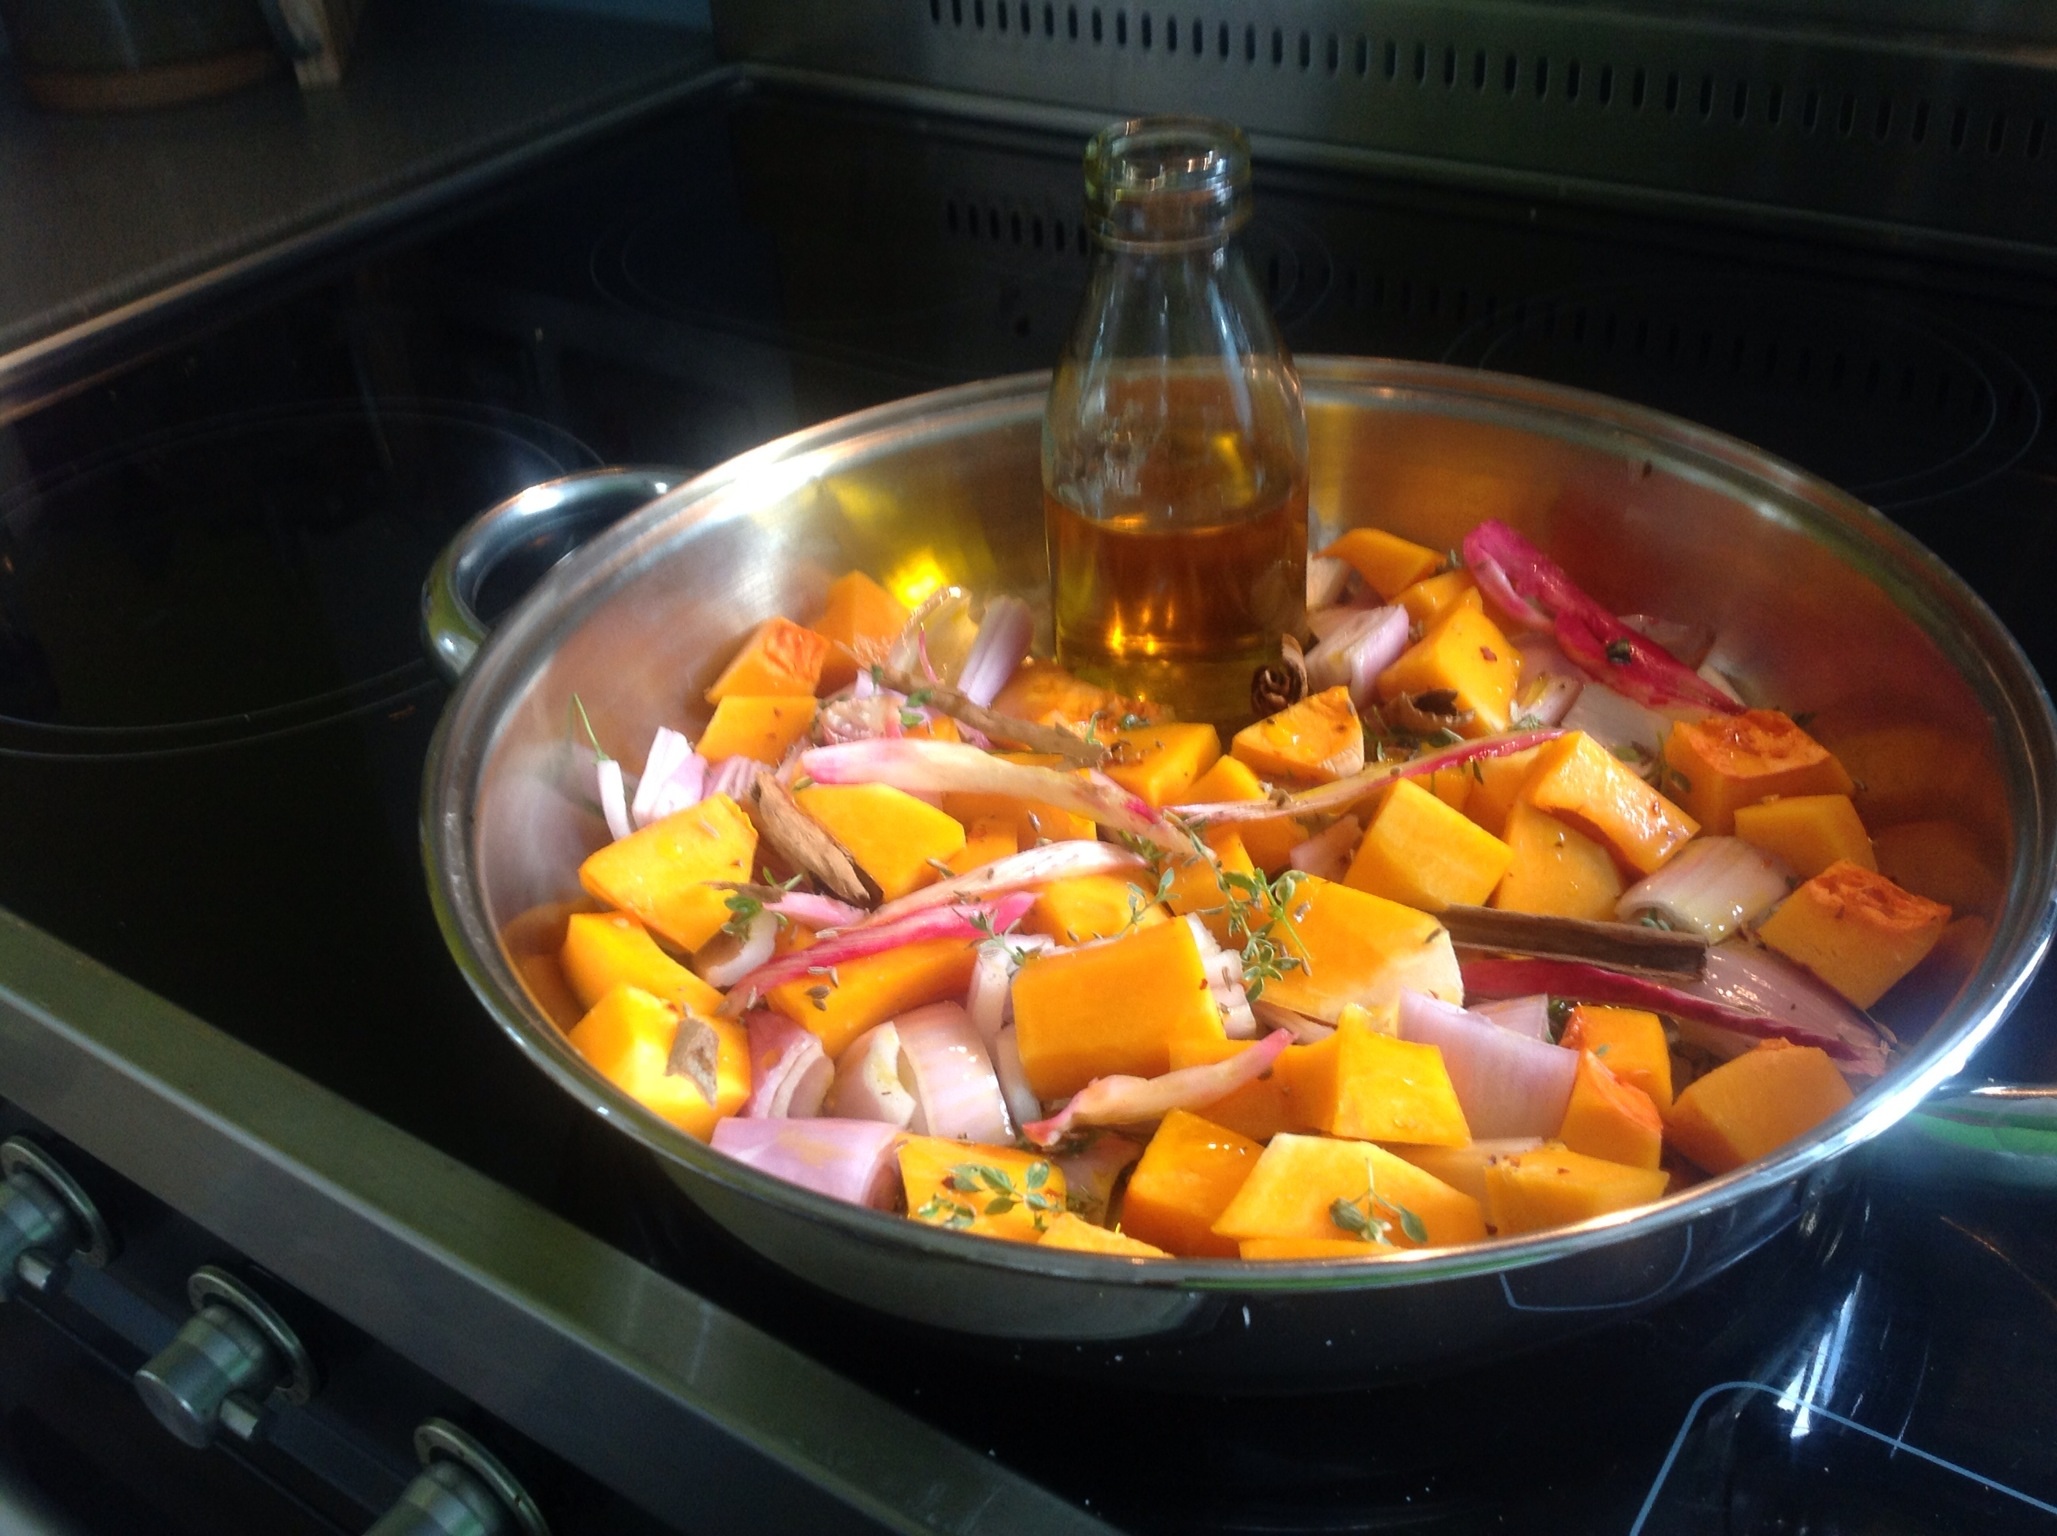
In a heavy based wide shallow pan warm plenty of (about 30ml) gorgeous Yare Valley rapeseed oil. It is so beautiful. Almost the colour of saffron.Lightly cover the bottom of the pan with chilli flakes and cumin seed, crushed green cardomom and half a stick of cinnamon broken into pieces. Let the spices heat very gently, then added sliced shallot, some chopped fennel, chunks of the last butternut squash from last year’s winter garden, and chopped courgette – cooking them gently for 10 minutes with the lid on. Then turn up the heat, added a large chopped tomato (minus the pips), black pepper, a little salt and a scant dessert spoon of sugar which combined with the high heat will char the edges slightly. By now the vegetables should be just cooked but still firm. Add two handful’s of basmati rice quickly followed by 750ml hot vegetable stock and the lid!
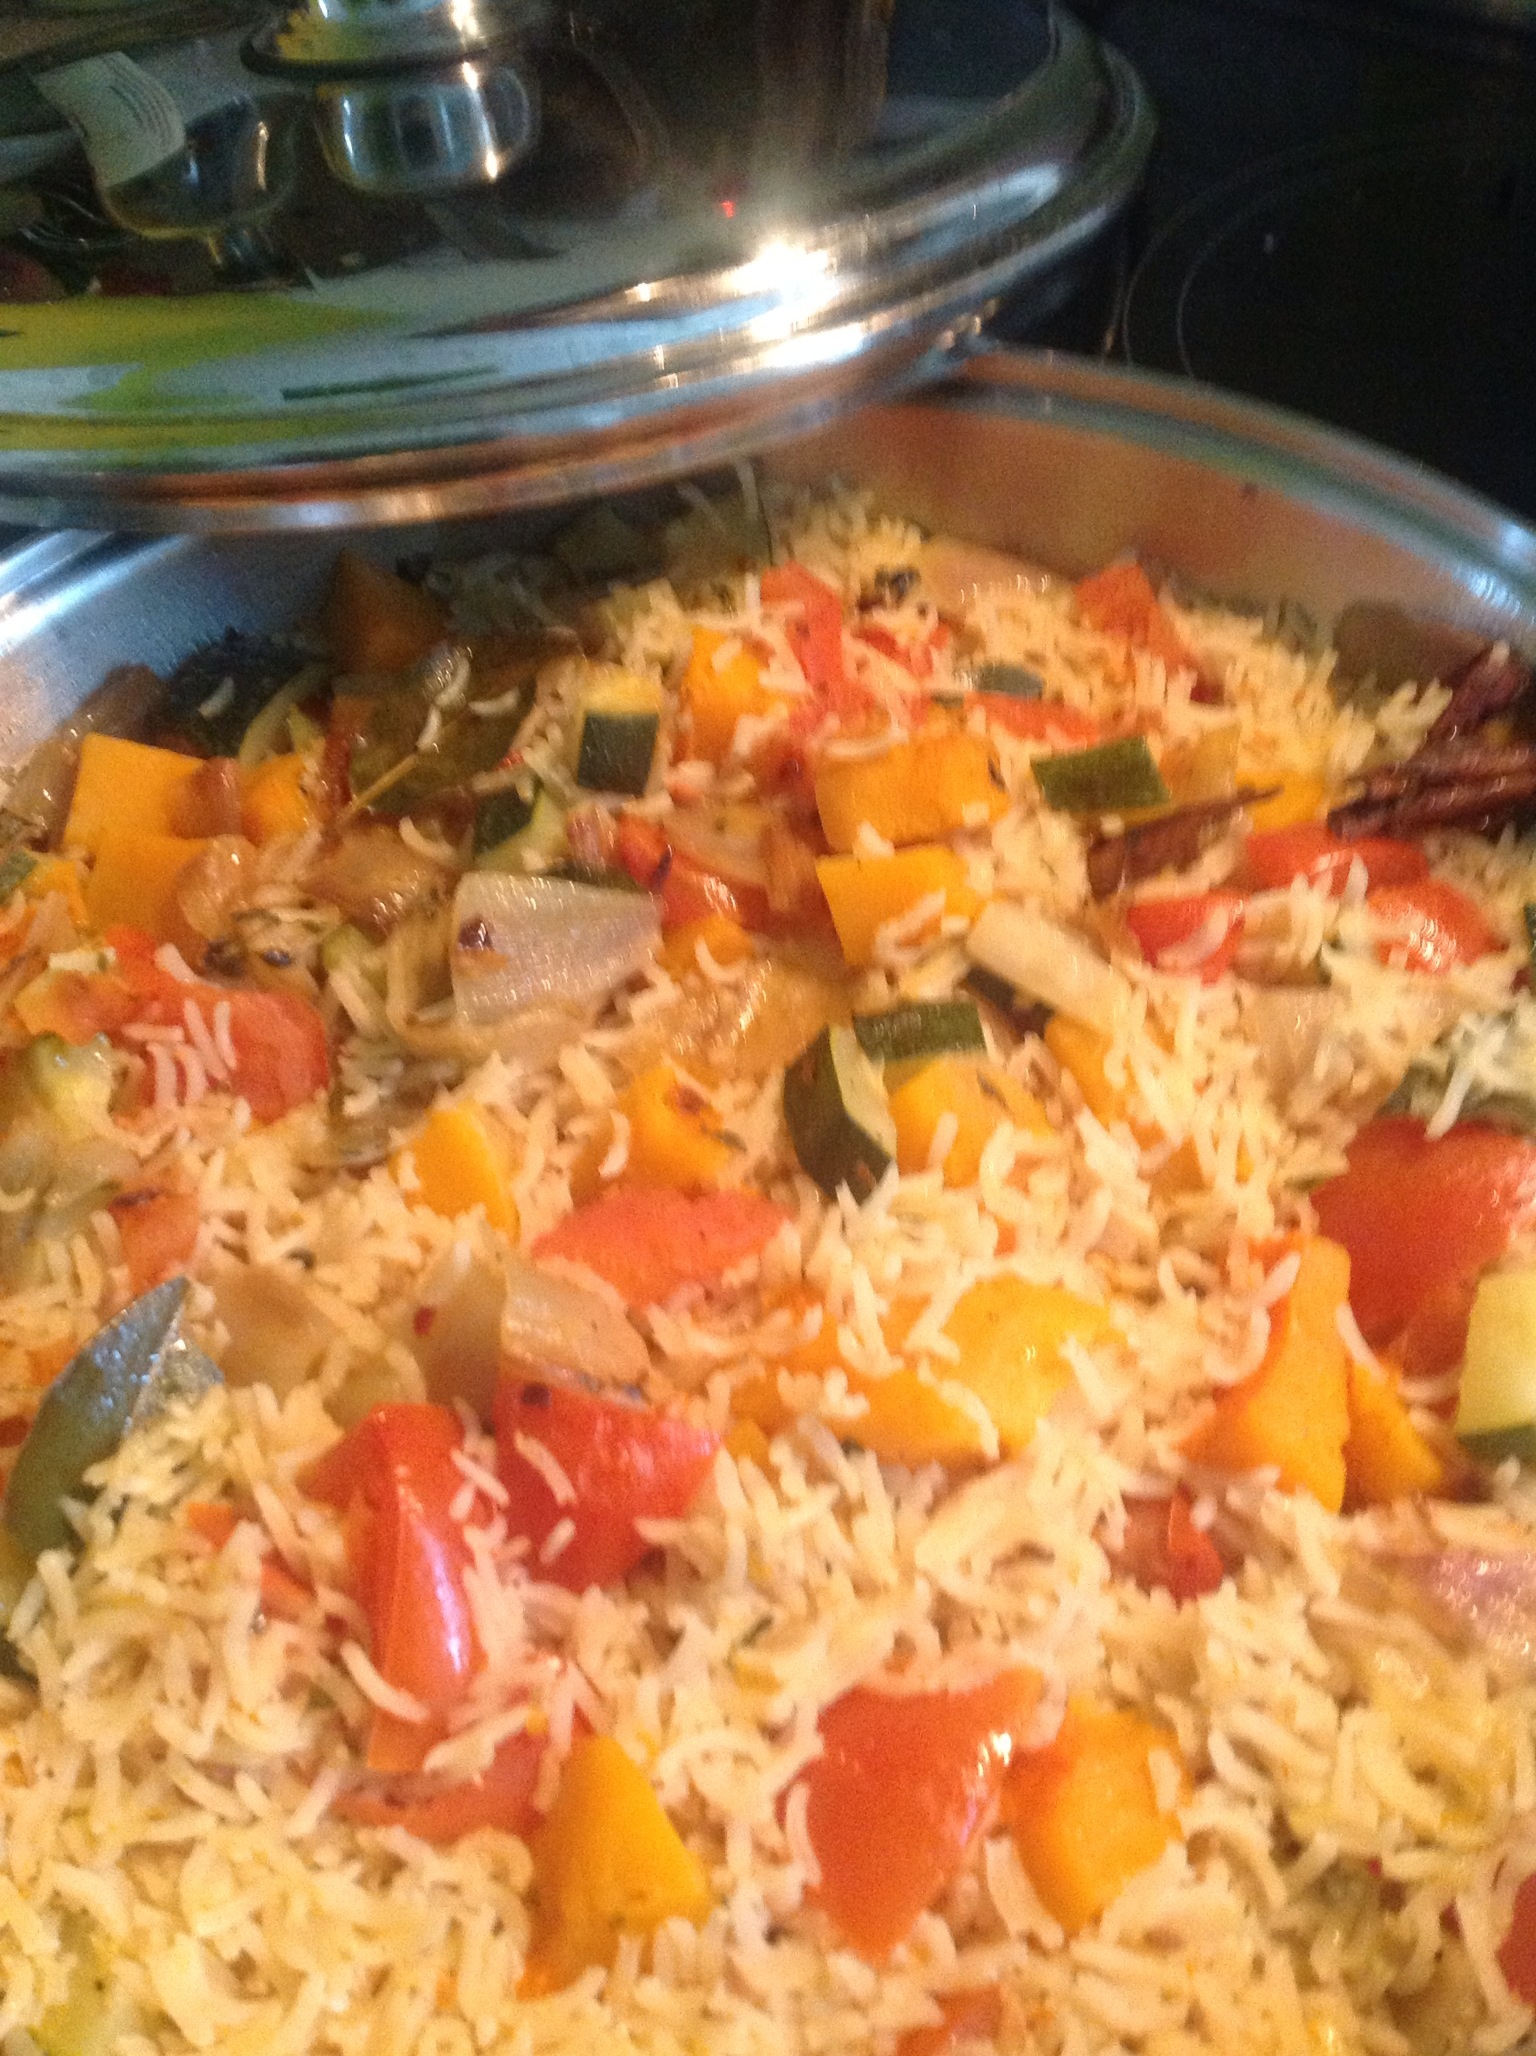
When the steam is vigorously belching out from under the lid, KEEP THE LID ON and turn the head down low, letting it gently steam away. Don’t be tempted to lift the lid. The idea is that the stock turns to steam and the steam hits the lid then drops back down on the rice. That way you get lovely fluffy rice and no mush.
Whilst it is placidly gurgling away to itself on a low heat, put more rapeseed oil into a pan and add more cumin seed and chilli flakes then fry sliced onions until golden brown. You will have noticed that these so-called measurements are desperately imprecise. That’s because 1) whatever is in the fridge will go in the Biryani, 2) I have no idea how hot or spicy you like your Biryani but you do! 3) The freshness of your spices will influence the over all flavour. A gorgeous Biryani will be full of flavour and spice without it overwhelming the flavour of the vegetables. The spicing should enhance the vegetable flavours, not drown them. Anyway, after 20 minutes (with the lid on!) the Biryani will be ready. Resist temptation. Just leave it there for another 10. The flavours will develop and will offer up intense warm spicyness and aroma without too much of a fiery chilli hit. When you are ready to eat, simply remove the cinnamon sticks and discard them, and tip the crispy onions onto the top. In my view the Biryani is best eaten about 30 minutes after this – still warm and definitely not hot.
Me. Him. The sofa. Beer. Wallander. The rain and the thunderstorm came about 2 hours later.
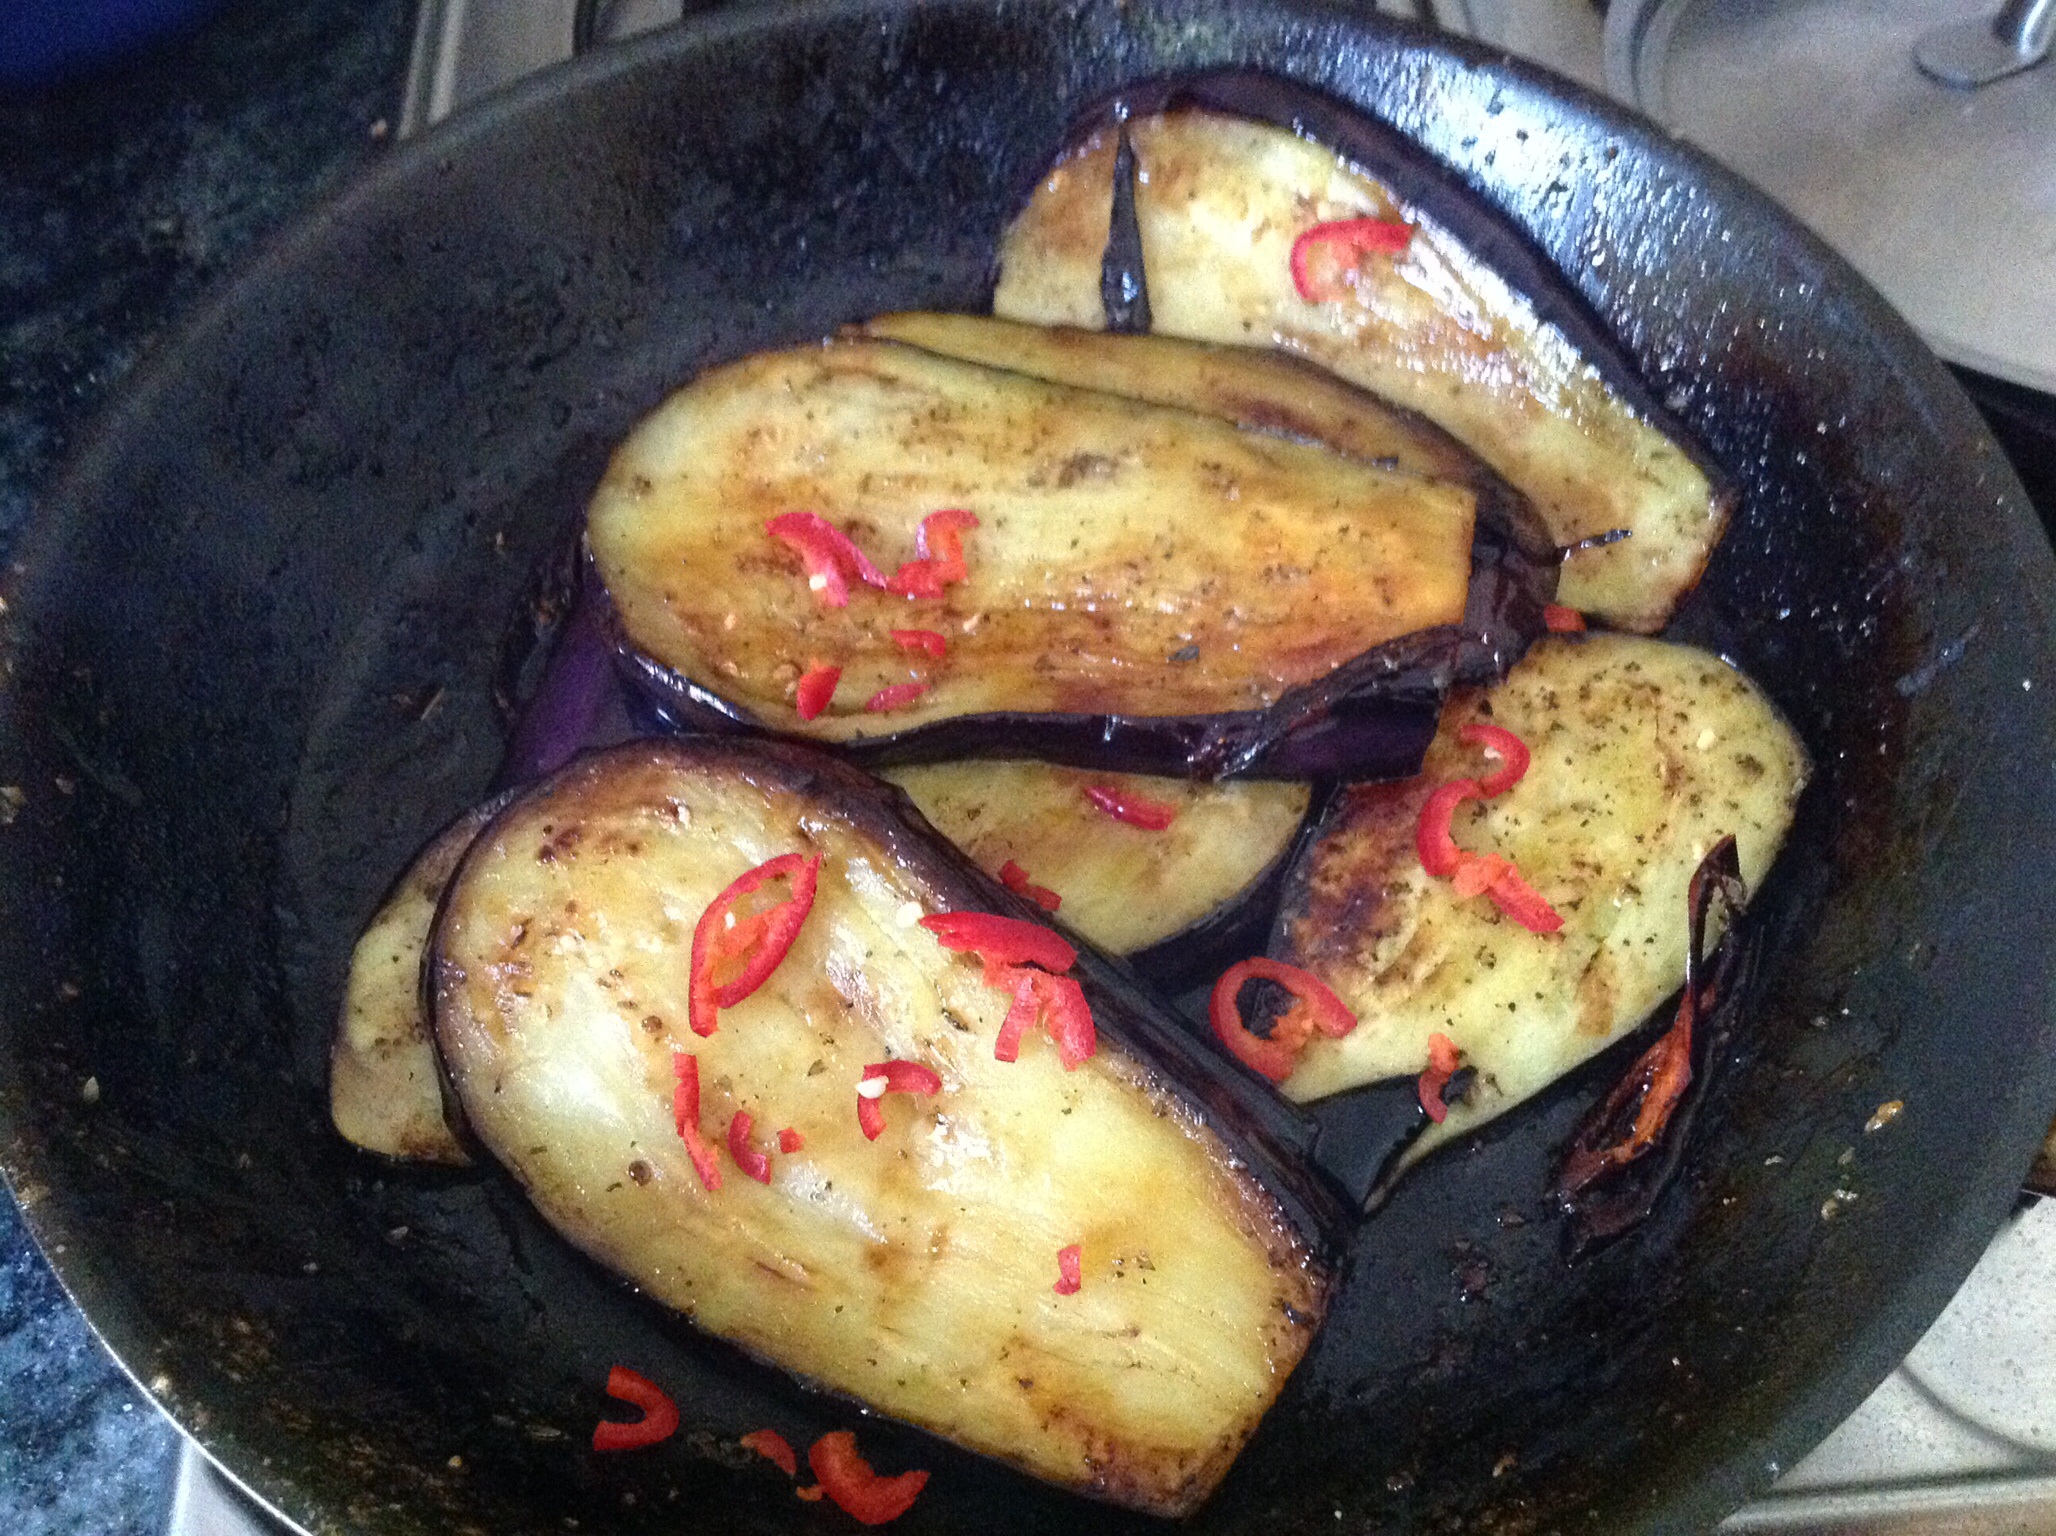
 In my world there is little that can compare with an uninterrupted day in my kitchen and the prospect of good friends coming for dinner. Inexplicably, the garden is groaning with produce at the moment – I guess it is harvest festival season – but generally my produce is waining by now. But this year we still have three rows of Pink Fir Apple potatoes to lift, more beetroot than we can eat, new shoots and green leaves on chard, a couple of rows of spinach, salads. Super Marmande tomatoes and about 15 aubergine.
-002")
-001")
 Citrus custard cake is an invention. Like any good guest I wanted to take something when Rosie and Sue suggested we meet up at Rosie’s place before we returned to the UK. In my head was a citrus and almond cake – a standard easy recipe involving boiled citrus fruit, whizzed in the food processor with eggs, sugar and ground almonds. It appears on this blog somewhere and many of you have commented on how delicious and easy it is. Which is true.


")

-002")


 OK. So I did it. I am a sucker for gadgets and machinery. Which for someone with my personality profile (I specialise in personality profiling) is rather odd. However, I won’t ponder on it. I purchased a Nutribullet. Apparently its an extractor; neither a blender, nor a juicer. An extractor.


 .
. 
Recent Comments